SPECIFICATIONS
INSTALLATION VIDEOS
Model shown in the video might not match this specific product, but it still provides a necessary glimpse of the installation process.
DESCRIPTION
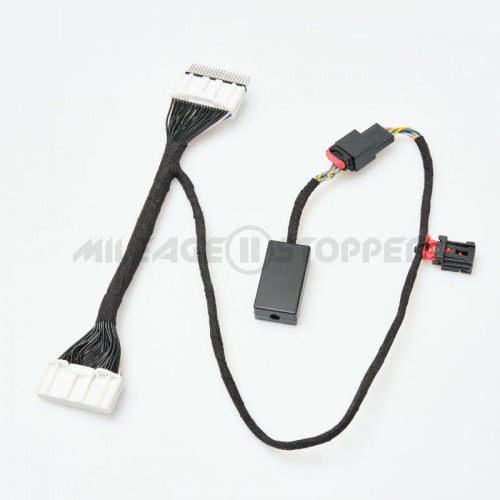
Mileage Blocker for Toyota C-HR (2016+).
CAN filter allowing to stop Mileage counting, mileage blocker works as CAN blocker, stop odometer device.
Installation: The device is installed behind the dashboard. The process takes about 30 minutes.
ACTIVATION
To activate the device or switch a mode either press a “RES” button on the right side of the steering wheel or use the cruise control joystick on the right control lever. Successful mode switching is confirmed by an automatic “Door Unlocked” LED on the dashboard or by a sound signal. Mode 1 is activated by default after the device is installed.
MODES
1. Speedometer works / Mileage is stopped at 100%.
2. Speedometer works / 90% of mileage is filtered *
3. Turn OFF. All comes back to normal.
* Mode 2 (90%) is a specific program for all Toyota vehicles. Its main purpose is to spread the SRS module log data across the car’s mileage. SRS module is on Toyota vehicles keeps a log such data as high revs, the times when the ABS is triggered, and so on. The catch is that SRS log data is impossible to correct post-factum. But by using the Second Mode this data does not get stuck at the same odometer value and thus will not raise any suspicion if the ECU and SRS modules are scanned with special service equipment.
LIMITATIONS
There are few features that will be compromised when the device is active:
- Instant fuel consumption is not supported.
- Average fuel consumption is displayed incorrectly.
INSTALLATION GUIDE
- Remove the instrument panel.
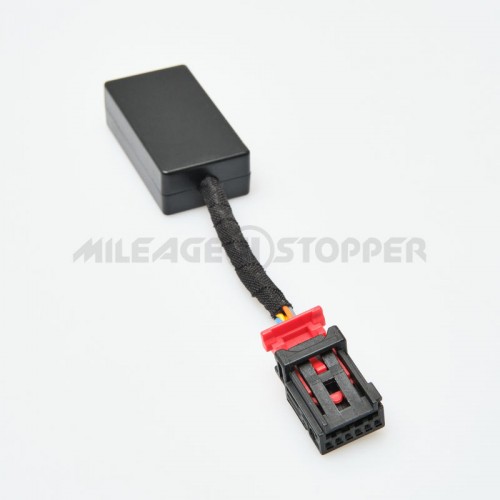
- First, connect the MALE connector. An LED on the device (look at the seam of heat-shrink tubing) should light up for 5-10 seconds.
- Next, connect the FEMALE connector (the instrument panel should turn on).
- Check operation of the device. Conduct a test-drive if necessary.
- Install the instrument panel back.
TROUBLESHOOTING: On most car models, both connectors, male and female, can be connected both ways. Hence, most of the troubleshooting is done by simply reconnecting the device. Thus, if you you don’t get an LED light on the device: flip the male connector 180 degrees / if the instrument panel does not light up after connecting the device: flip the female connector 180 degrees. Please note, if the device is connected incorrectly, it will not cause any damage to the car's electronic system.
ADVANTAGES
- In-House Research & Design
- 1 Year Warranty
- DIY Installation (no soldering and stripping wires)
- Original connectors and terminals to ensure the best quality
- The speedometer is working normally
- All ECUs will be stopped along with the odometer
- Uninstalling the device will not affect the mileage data (the mileage will not jump up)
WARNING
THE DEVICE IS INTENDED FOR VEHICLE RESEARCH, TUNING AND TESTING PURPOSES ONLY, ON DYNAMOMETER STANDS AND IN LABORATORY CONDITIONS, OUTSIDE OF PUBLIC ROADS. USE IT WISELY AND WITH CAUTION.

No questions about this product, be the first and ask your question.


